

Kitchen Aid Ice Cream Recipe Vanilla. Best Easy Way
To make vanilla ice cream with a KitchenAid mixer, start by preparing the ice cream base with heavy cream, sugar, and vanilla extract. Chill the mixture before churning it in your KitchenAid ice cream maker attachment.
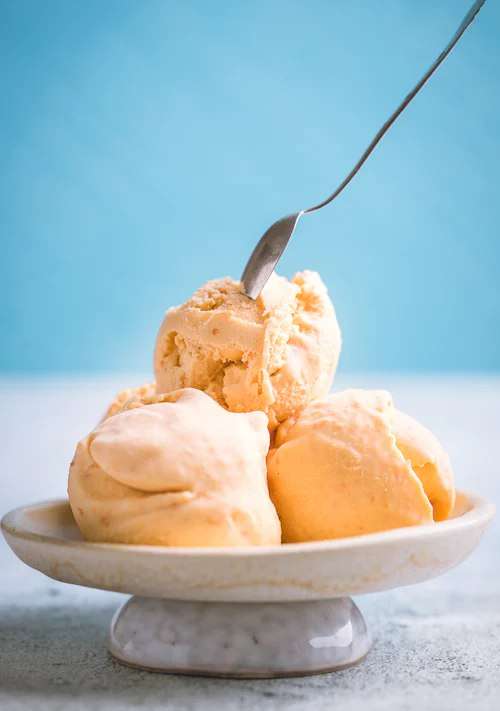
Kitchen Aid Ice Cream Recipe Vanilla, creating homemade vanilla ice cream using a KitchenAid mixer is a simple process that brings the delight of classic flavors right to your kitchen. Begin by combining your key ingredients, ensuring that both your ice cream bowl and mixture are cold to facilitate smooth freezing.
KitchenAid mixers, equipped with the ice cream maker attachment, provide a hassle-free and efficient method of churning ice cream to the perfect consistency. This process does not only yield a delectably creamy dessert but also gives you control over the quality and type of ingredients used, allowing for a more personalized and healthier option compared to store-bought ice creams. The joy of making ice cream at home fosters a creative cooking experience, embracing the pleasures of both crafting and enjoying a timeless treat loved by many.
Crafting The Perfect Scoop
Crafting the Perfect Scoop isn’t just about following a recipe. It’s an art that begins with selecting top-tier ingredients. To create the best vanilla ice cream with your Kitchen Aid, you need passion, patience, and an eye for quality. Let’s dive into how to make each mouthful of ice cream a memorable delight.
Sourcing Quality Ingredients
High-quality ingredients are the heart of delicious ice cream. Your vanilla ice cream will only be as good as the materials you use. Here’s what to look for:
- Cream and Milk: Opt for full-fat versions for creaminess.
- Sugar: Regular granulated sugar works fine, but organic has a pure taste.
- Eggs: Fresh, organic eggs will give your ice cream structure.
- Salt: A pinch enhances flavors, so don’t skip it.
The Role Of Vanilla
Vanilla is more than just a flavor; it’s the soul of your ice cream. Choose the best form:
| Type | Description | Why It’s Great |
|---|---|---|
| Extract | A liquid from vanilla beans in alcohol | Convenient and widely available |
| Bean Paste | Seeds and pods ground into a paste | Specks of vanilla add a gourmet touch |
| Whole Bean | The entire pod, split and scraped | The freshest flavor and aroma |
When it comes to vanilla, think fragrance and subtlety. These extracts infuse your Kitchen Aid ice cream with a warm, rich essence that powdered versions can’t match. Remember, the better the vanilla, the more divine your scoop.
Prepping Your Kitchenaid
Witness frozen delights come to life right in your kitchen with the KitchenAid ice cream attachment. Before diving into the creamy world of homemade vanilla ice cream, let’s prepare your KitchenAid mixer for the task. Follow these simple steps to ensure a smooth ice cream-making experience.
Attaching The Ice Cream Maker
Assembling the ice cream maker attachment is the first step. Power off and unplug your mixer for safety. Twist the attachment onto the motor head until it clicks. Confirm it’s locked in place. Now, place the freeze bowl onto the attachment.
Next, secure the dasher, which mixes the ice cream. Align its end with the driver on the freeze bowl. Turn the mixer to “Stir” for a few seconds. This ensures everything is well-connected. You’re now ready to pour in your ice cream mixture.
Ensuring Proper Temperature
Temperature matters in achieving the perfect consistency. Start by freezing the ice cream bowl for at least 15 hours. Use a thermometer to check that your freezer reaches 0°F (-18°C). This is key for the freeze bowl to churn effectively.
Make your ice cream base a day in advance. Chill it in the refrigerator. This makes it cold enough to begin the transformation. Once pre-chilled, you’ll be all set for making luscious vanilla ice cream to enjoy with friends and family.
The Base Mixture
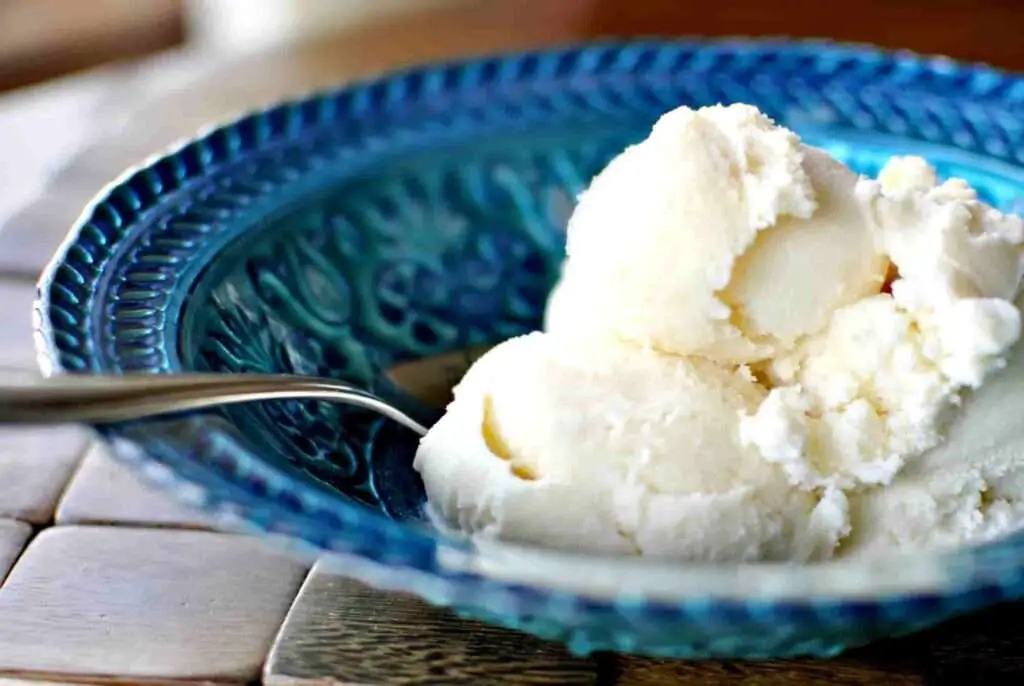
The Base Mixture is the heart of any ice cream – it’s the silky canvas where flavors blend and textures form. Before diving into the whimsical world of ice cream making, mastering this fundamental vanilla base mixture is key. It’s creamy. It’s sweet. It’s everything you need to create that perfect scoop of homemade ice cream with your Kitchen Aid.
Balancing Cream And Sugar
Getting the balance right between cream and sugar ensures a smooth, luxurious ice cream. Too much sugar and your ice cream become overly sweet and may not set properly. Too little, and the result is a hard, less palatable dessert. Aim for the sweet spot:
- Two lavish cups of velvety heavy cream, indulging your senses in a symphony of richness.
- 1 cup of whole milk – to keep the mixture from being too heavy.
- 3/4 cup of granulated sugar – just enough for sweetness without overwhelming.
Whisk together until sugar dissolves completely, ensuring a smooth base.
Infusing Vanilla Flavor
True vanilla flavor comes from quality ingredients: either vanilla beans or pure vanilla extract. To infuse your base with this classic aroma:
Option 1: Split a vanilla bean pod lengthwise, scrape out seeds, add pod and seeds into the cream mixture, and heat gently.
Option 2: Stir in 1 tablespoon of pure vanilla extract into the mixture after it has cooled.
Whatever choice you make, let the mixture chill thoroughly before churning. This step ensures maximum flavor throughout your ice cream.
Churning And Texture
Creating the perfect vanilla ice cream with your Kitchen Aid involves mastering churning and achieving the right texture. This magic happens in the freezing bowl, where creaminess and smoothness come to life. To enjoy every spoonful, understanding the nuances of timing your churn and judging the consistency is key. Dive into these important steps to turn your mixture into the most delightful frozen treat.
Timing Your Churn
Churning ice cream is like a dance – it requires rhythm and precise timing. Start the churning process as soon as your base is cool. This ensures peak texture and prevents ice crystals. Here’s a simple guide:
- Pre-chill your mixing bowl for 15 hours.
- Begin churning right after mixing ingredients.
- Watch the clock — usually takes 20-30 minutes.
Keep your eyes peeled! Stop churning before the mixture gets too thick.
Judging The Consistency
The right consistency is about softness and firmness. Aim for a mixture that holds its shape but isn’t too stiff. Consider these points:
- Peek Often: Open the lid and check progress.
- Look for a thick custard-like texture.
- Stop the machine when you see soft peaks.
Remember, after the churning, your ice cream should still be a bit soft. It’ll firm up after a few hours in the freezer. So, patience is the secret ingredient here!
Serving And Storage
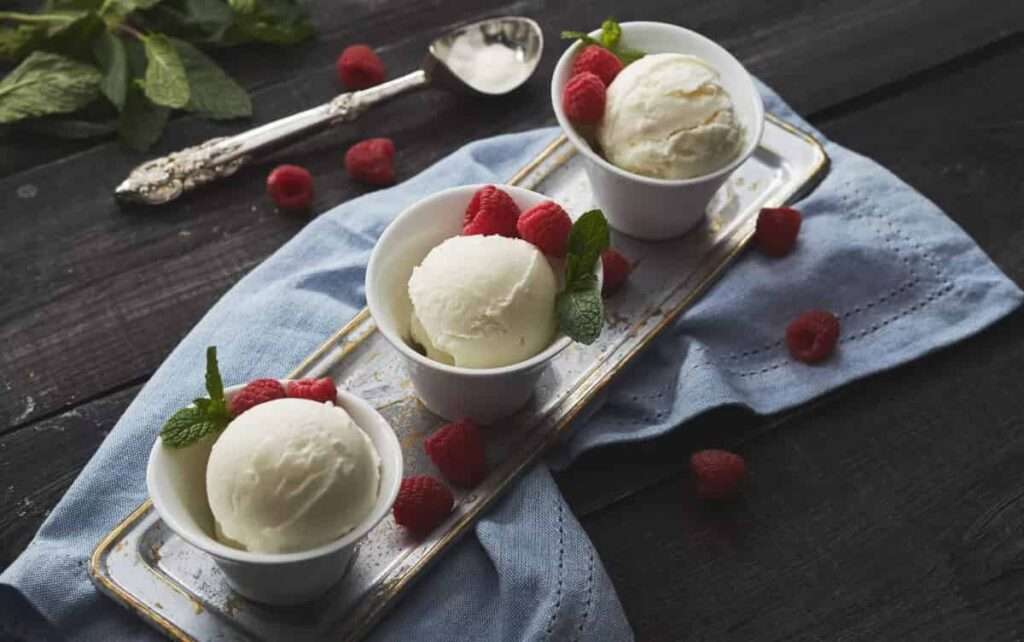
Once you’ve perfected your Kitchen Aid Ice Cream Recipe Vanilla, the next steps are crucial. Serving and storing it right will ensure that every scoop is as delightful as the first. Here’s what you need to know to enjoy your homemade treat to the fullest.
Best Practices
For an optimal experience, consider these tips:
- Pre-chill your serving bowls to maintain the ice cream temperature when served.
- Use a warmed scoop to glide through the ice cream effortlessly.
- Serve immediately after scooping for the freshest taste.
- Top with fresh fruits or nuts for an extra dimension of flavor.

Long-term Ice Cream Care
To keep homemade vanilla ice cream at its best:
| Step | Action |
|---|---|
| 1 | Seal in an airtight container |
| 2 | Place a layer of plastic wrap on the surface before closing the lid |
| 3 | Store at the back of the freezer where it’s coldest |
| 4 | Avoid frequent temperature changes by reducing the number of times the ice cream is taken out |
Use within one month for the best quality. Savor every scoop as it should be: creamy, smooth, and packed with vanilla goodness.
Frequently Asked Questions For Kitchen Aid Ice Cream Recipe Vanilla?
What Ingredients Are Needed For Vanilla Ice Cream?
For homemade vanilla ice cream, you’ll typically need heavy cream, milk, sugar, salt, vanilla extract, and egg yolks. The exact proportions can vary based on your preferred recipe and desired creaminess.
How Do You Make Kitchen Aid Ice Cream?
First, prepare a custard base with your ingredients and chill it. Attach the ice cream maker attachment to your Kitchen Aid mixer. Pour the mixture into the pre-frozen bowl and churn for about 20-30 minutes, until it reaches a soft-serve consistency.
Can You Use Vanilla Bean In Ice Cream?
Yes, vanilla beans can be used for a richer flavor. Split the bean lengthwise, scrape out the seeds, and add them to the custard mixture. The bean pod can also be steeped in the milk for deeper infusion.
How Long Does Kitchen Aid Ice Cream Take To Freeze?
Following the churning in your Kitchen Aid, the ice cream should be transferred to a freezer-safe container and frozen for at least 2-4 hours, or until firm. Overnight freezing is often recommended for best results.
Conclusion
Wrapping up our vanilla adventure, this Kitchen Aid ice cream recipe promises delight in every scoop. Embrace the simplicity of homemade goodness and see how easy it is to impress with just a bowl and a churn. Remember, quality ingredients yield the creamiest results.
Happy churning and enjoy that irresistible frozen treat!


One Comment