

How to Make a Pantry Cabinet?
To make a pantry cabinet, start with designing your layout and purchase or cut the wood according to your measurements. Assemble the sides, top, bottom, and shelves using nails or screws before attaching the back.
Creating a pantry cabinet can elevate your kitchen’s functionality and style, providing additional storage and organization for your food and cooking essentials. Undertaking this DIY project allows for customization to fit your specific needs and space, giving you the freedom to choose the size, material, and shelving options that best suit your household.
Select durable materials and sturdy construction techniques to ensure your pantry cabinet withstands the test of time. With careful planning and execution, you can build a pantry cabinet that not only meets your storage requirements but also enhances the overall look of your kitchen. Remember to measure twice and cut once to minimize errors and to rely on accurate plans for a successful project.
Introduction: How to make a pantry cabinet
Welcome to the crafty world of pantry cabinet making, where functionality meets personal style. Whether you’re a seasoned DIY enthusiast or a novice looking to tackle your first project, creating a custom pantry cabinet can seem like a daunting task. But fear not; this guide will walk you through the rewarding process of building a piece that will transform your organization and elevate your space.
The Role Of A Pantry Cabinet In Home Organization
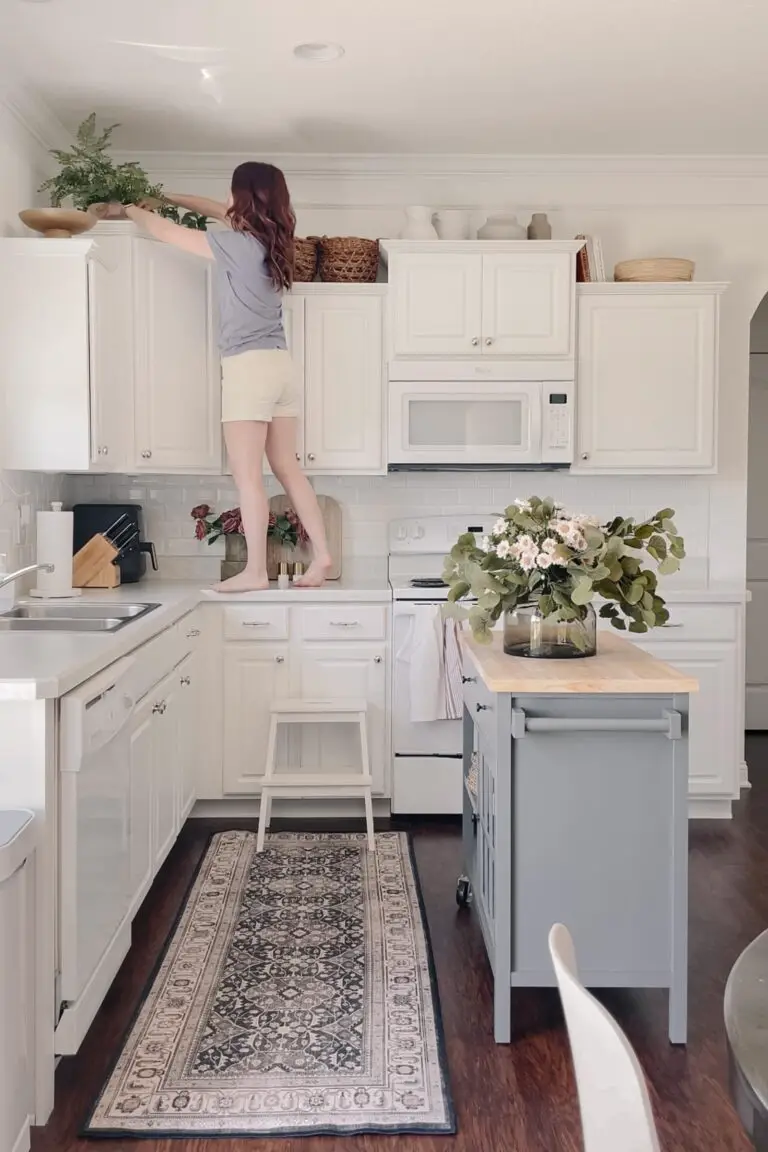
A well-designed pantry cabinet is a game-changer in any kitchen. It serves as the central hub for storing your non-perishable foods, appliances, and even cookware. By introducing a custom pantry into your home, you say goodbye to clutter and hello to a well-ordered kitchen where everything has its place.
- Keeps countertops clean and clear
- Reduces time spent searching for items
- Maximizes space with tailored shelving and compartments
Benefits Of Diy Custom Pantry Projects
Tackling a DIY custom pantry project comes with a plethora of perks that go beyond the satisfaction of building something with your own two hands:
| DIY Benefit | Description |
|---|---|
| Cost-Efficiency | Less expensive than pre-built options |
| Customization | Tailor to your specific needs and style |
| Pride and Enjoyment | The joy of using something you made |
By opting for a DIY approach, you have full control over the materials, the design, and the finish of your pantry cabinet. This means you can ensure it perfectly fits your kitchen’s dimensions and your lifestyle. Let the journey begin!
Designing Your Pantry Cabinet
Embarking on a DIY journey to create a pantry cabinet? Tailoring storage space for your kitchen can be exciting and rewarding. The design phase is crucial for a pantry that meets all your needs.
Assessing Your Storage Needs
- Inventory your items: List what you’ll store.
- Categorize essentials: Group similar items together.
- Consider space: Think about pantry usage frequency.
Selecting The Dimensions And Style
| Dimension | Style |
|---|---|
| Height, width, depth | Modern, rustic, classic |
| Adjustable shelves | Open shelves, glass doors |
| Space for large items | Custom compartments |
Creating A Blueprint Or Sketch
- Grab paper and pencil: Start with a rough draft.
- Measure your space: Ensure your design fits.
- Detail each section: Indicate shelves and drawers.
Use design software for a professional touch.
Materials And Tools Required
Preparing to create a pantry cabinet starts with collecting the right materials and tools. This guide provides all the information needed for selecting the best supplies and ensuring safe practices during the construction process.
Choosing The Right Wood And Hardware
Selecting quality wood and reliable hardware guarantees a pantry cabinet that lasts for years. Consider these points:
- Plywood or solid wood – Plywood is cost-effective and stable. Solid wood is pricier but adds beauty and strength.
- Shelves thickness – Aim for at least ¾ inch thickness for sturdy shelves that won’t sag under weight.
- Hardware selection – Opt for corrosion-resistant hinges and drawer slides for smooth operation.
- Fasteners quality – Use quality screws and nails to ensure a strong build.
List Of Essential Tools For Cabinet Making
These tools are crucial for building a sturdy and precise pantry cabinet:
- Tape measure – For accurate measurements.
- Circular saw or table saw – To cut wood with precision.
- Drill – For making pilot holes and fastening screws.
- Sander – For a smooth finish on wood surfaces.
- Clamps – To hold wood in place while working.
- Level – Ensures your cabinet is perfectly horizontal and vertical.
- Square – Checks the accuracy of angles and corners.
Safety Gear And Precautions
Safety must always come first in any woodworking project. Equip yourself with:
| Safety Item | Function |
|---|---|
| Safety goggles | Protect eyes from dust and debris. |
| Ear protection | Shield ears from loud machine noises. |
| Dust mask | Avoid inhaling sawdust and harmful particles. |
| Gloves | Guard hands against splinters and cuts. |
Before starting, ensure your workspace is well-lit and free from clutter. Keep all tools in good condition and double-check settings before use. Always follow manufacturer instructions for both tools and materials.
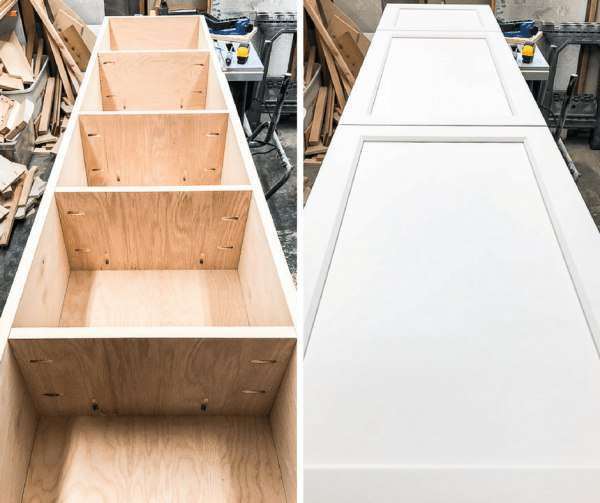
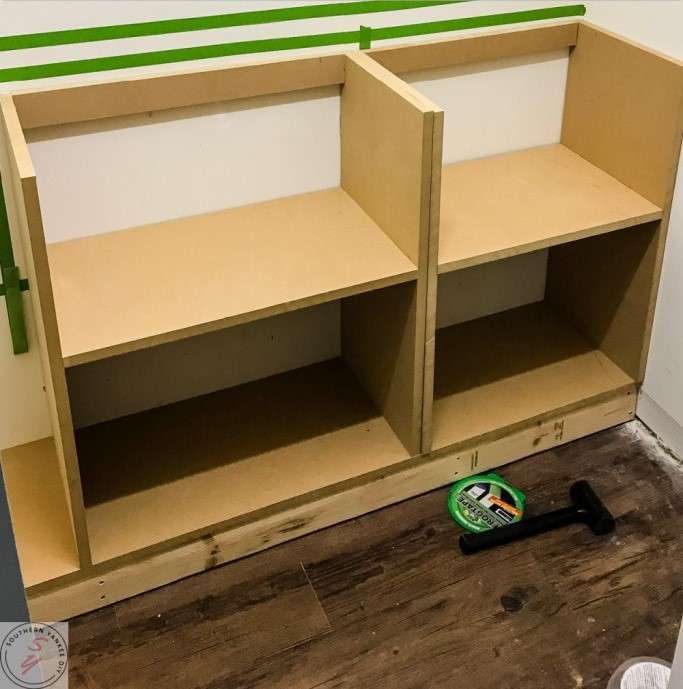
Building The Pantry Cabinet Frame
Embarking on the journey to construct a pantry cabinet means starting with the most crucial step: building a sturdy frame. Imagine this frame as the skeleton upon which your pantry’s durability and design will depend. Let’s cut, assemble, and perfect our pantry cabinet frame together, ensuring a foundation that’s both reliable and ready to hold all your culinary essentials.
Cutting The Wood To Size
First things first, let’s measure and mark the lumber according to the blueprint of our pantry cabinet. Consistency is key, so double-check those measurements before you cut. The tools needed here are simple:
- Measuring tape – Your trusty guide for accuracy.
- Circular saw or handsaw – Choose your cutter.
- Safety gear – Protect those eyes and ears.
With these in hand, cut the pieces to create the sides, top, bottom, and shelves.
Assembling The Frame Structure
With our wood pieces cut, it’s time to bring the frame to life. Here’s what we’ll do:
- Position the side panels upright, parallel to each other.
- Align the top and bottom boards between them.
- Secure each joining point with screws or nails, creating a rectangular frame.
Remember to evenly space out shelves between the top and bottom, securing them too.
Ensuring The Frame Is Square And Level
The true test of a well-built frame is its squareness and levelness. Use a carpenter’s square to confirm the corners are at perfect right angles. Then, grab a level to verify that the top is horizontal and the sides are vertical. If needed:
- Adjust the frame slightly.
- Check again with the level and square.
- Repeat until satisfied with the structure’s precision.
Securing a square and level frame now sets you up for success with the remainder of your pantry cabinet build.
Adding The Finishing Touches
Adding the Finishing Touches to your pantry cabinet is like icing a cake. It transforms a simple storage solution into a polished piece of furniture. Whether you prefer a modern or traditional look, the right finishes make your cabinet stand out. These final steps ensure your pantry is not only functional but also a visually appealing element of your home.
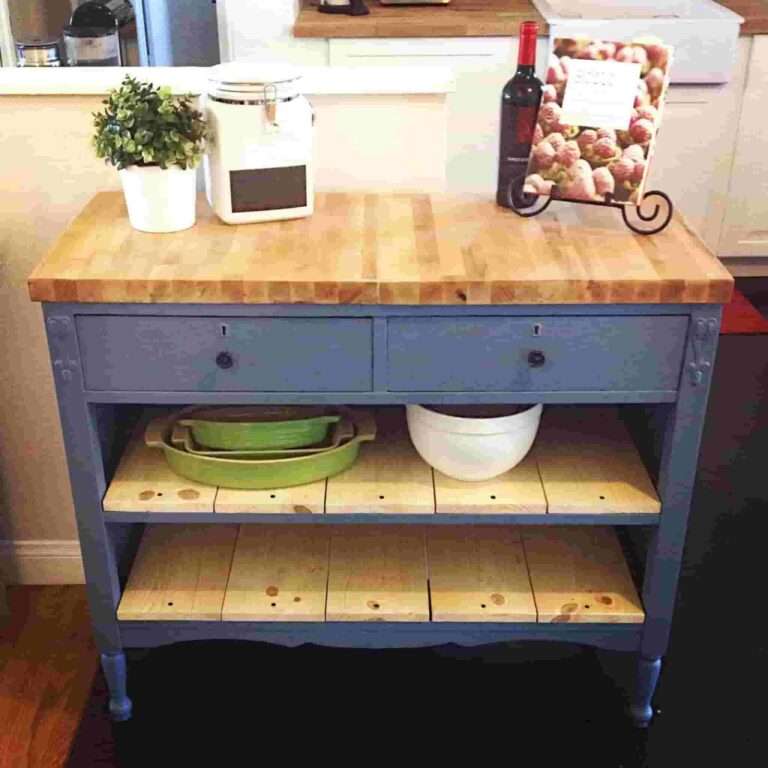
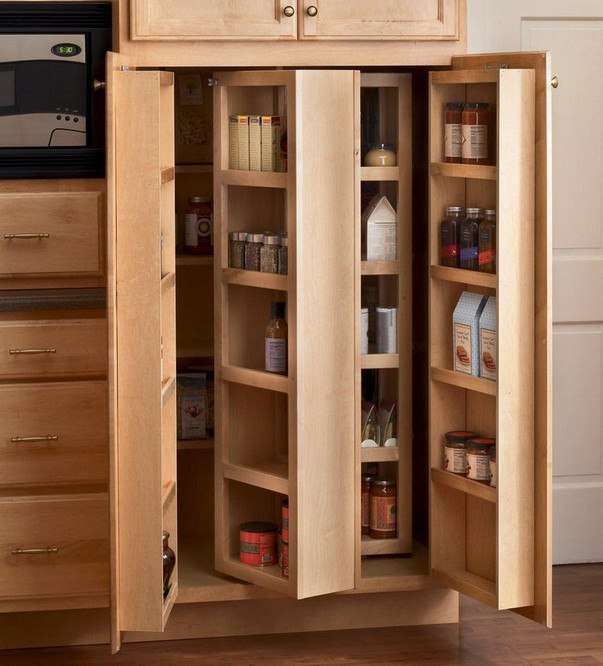
Installing Shelves And Doors
Achieving a blend of beauty and practicality begins with installing shelves and doors. Here’s what to do:
- Measure the cabinet interior to determine shelf size.
- Cut your shelves from durable material to fit these dimensions.
- Secure adjustable shelf pins for custom height modification.
- Attach the shelves onto the pins, ensuring they’re level.
- For the doors, attach hinges to the cabinet frame.
- Align the doors with the frame and secure them with screws.
Selecting And Applying Finishes
The right finish protects your cabinet and enhances its appearance. Consider these options:
- Protective finish such as polyurethane shields against scratches and spills.
- Varnish offers a glossy, hard-wearing surface.
- Oil finishes penetrate the wood for a natural look.
Apply your chosen finish with a clean brush or cloth. Always work in a well-ventilated area. Allow each coat to dry thoroughly before applying the next.
Customizing With Paint Or Stain
Making your pantry truly yours can be done through customizing with paint or stain:
- Prep the surface by cleaning and lightly sanding the wood.
- Apply a primer if you’re painting, or a wood conditioner for staining.
- Choose a color or stain that complements your room’s decor.
- Paint or stain the cabinet, working with light, even coats.
- Ensure each layer is fully dry before proceeding with the next application.
This customization step is the key to making your pantry match your personal style.
Installation And Maintenance
After crafting the perfect pantry cabinet, the next step is installation and ensuring it stays in tip-top shape. Installing the cabinet securely is imperative for safety and function. Proper maintenance and addressing wear and tear will extend its life. Let’s delve into the best practices for installing and maintaining your pantry cabinet.
Securing The Pantry Cabinet In Place
Stability is key for any pantry cabinet setup. Begin by finding the wall studs for a firm foundation. Next, mark the placements on both the wall and the cabinet. Pre-drill the mounting holes in the cabinet to match up with the studs. Use heavy-duty screws to secure the cabinet to the wall. Verify the cabinet is level before tightening the screws fully. For extra safety, consider adding brackets or wall anchors.
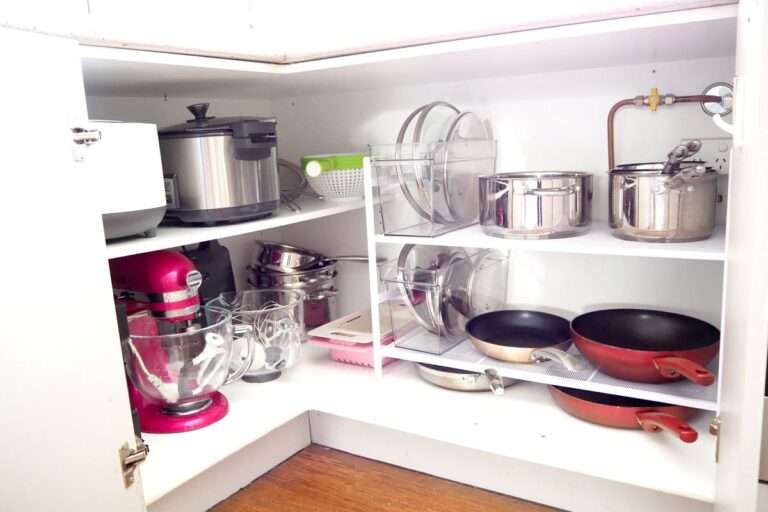
Tips For Maintaining And Cleaning Your Pantry
- Wipe regularly to prevent dust buildup.
- Use mild soap and water for cleaning; avoid harsh chemicals.
- Organize contents to prevent overcrowding and damage.
- Check for loose hinges or knobs and tighten as necessary.
- Liners can protect shelves from spills and stains.
- Ventilation is vital; ensure your pantry gets enough air circulation.
Handling Common Wear And Tear
Even the most well-made pantry cabinets face wear and tear. Should the cabinet doors start to stick, check and adjust the hinges. Touch-up paint or finish can address minor scratches. If shelves show signs of sagging, install additional supports or distribute weight more evenly. Regular inspections help catch small issues before they become big problems. Your pantry cabinet can serve you for years with these care tips.
Frequently Asked Questions On How To Make A Pantry Cabinet?
What Tools Are Needed For A Pantry Cabinet?
To build a pantry cabinet, essential tools include a measuring tape, saw, drill, hammer, level, screwdriver, and sandpaper. Precise measurements and cutting are crucial for a polished look. Always wear safety equipment when operating tools.
How Much Does It Typically Cost To Make A Pantry Cabinet?
The cost of making a pantry cabinet varies by material and size. A basic DIY project might cost between $100 to $300. High-end materials or complex designs will increase the price. Consider the cost of tools if you don’t already own them.
Can I Build A Pantry Cabinet With No Woodworking Experience?
Yes, building a pantry cabinet is possible for beginners. Start with simple designs and pre-cut materials. Follow detailed plans and tutorials. Practice basic skills first. Success often hinges on one’s patience and meticulousness.
What’s The Ideal Size For A Diy Pantry Cabinet?
The ideal size for a DIY pantry cabinet depends on your space and needs. Standard dimensions are typically 84 inches high, 18-24 inches deep, and 12-36 inches wide. Tailor the size to fit your kitchen and storage requirements effectively.
Conclusion
Crafting a pantry cabinet yourself can be deeply rewarding. By following the steps outlined, you create not just storage, but a bespoke piece for your home. Remember, patience and precision are key. Embrace the process, and your custom pantry will stand as a testament to your handiwork and creativity.
Happy building!